Hello and welcome to this Vue js tutorial series, my name is Henry Mbugua, I will be taking you through the various aspects, and new answers of how to consuming Nasa Open APIs using Vue.js and Axios.js which is a promise-based HTTP client for browsers and node.js, Vue.js is a progressive JavaScript Framework for building reactive user interfaces. In Lesson 1, we successfully fetched some data asynchronously and assigned values to four properties as seen in the following piece of code in our Vue instance:
<script>

    var nasaApiKey = 'KManh3u5NCHutCo7CzsQ957fZQOfRNBl1wWqOprT';

    var url = 'https://api.nasa.gov/planetary/apod?api_key=' + nasaApiKey;


    var vm = new Vue({
        el: '#app',
        data: {
            imgSrc: '',
            imgTitle: '',
            imgExplanation: '',
            imgDate: '',
            imgUrl: '',

        },
    });

    axios.get(url).then(function (response) {
        vm.imgSrc = response.data.url;
        vm.imgTitle = response.data.title;
        vm.imgExplanation = response.data.explanation;
        vm.imgDate = response.data.date;
    })
</script>
The next step is to improve the above solution and make sure we can reuse our get request using Axios. Now make you index.html has the following code:
<!doctype html>
<html lang="en">
<head>
    <!-- Required meta tags -->
    <meta charset="utf-8">
    <meta name="viewport" content="width=device-width, initial-scale=1, shrink-to-fit=no">

    <!-- Bootstrap CSS -->
    <link rel="stylesheet" href="https://stackpath.bootstrapcdn.com/bootstrap/4.4.1/css/bootstrap.min.css" integrity="sha384-Vkoo8x4CGsO3+Hhxv8T/Q5PaXtkKtu6ug5TOeNV6gBiFeWPGFN9MuhOf23Q9Ifjh" crossorigin="anonymous">

    <title>HLAB - Learning Vue.js</title>
</head>
<body>

<div id="app">
    <div class="container">
        <div class="row">
            <div class="col-12">
                <div class="mt-5">
                    <div class="card" style="width: 50rem;">
                        <h5 class="card-title">NASA APOD: Astronomy Picture of the Day</h5>
                        <img :src="imgSrc" class="card-img-top" :alt="imgTitle" height="300" width="50">
                        <div class="card-body">
                            <h5 class="card-title">{{ imgTitle }}</h5>
                            <p class="card-text">{{ imgExplanation }}</p>
                            <a :href="imgSrc" target="_blank" class="btn btn-primary">View Image</a>
                        </div>
                    </div>
                </div>

            </div>
        </div>
    </div>
</div>


<!-- Vue js JavaScript -->
<script src="https://cdn.jsdelivr.net/npm/vue/dist/vue.js"></script>

<!-- Axios js JavaScript -->
<script src="https://cdn.jsdelivr.net/npm/axios/dist/axios.min.js"></script>


<!-- Vue js Instance and Axios Request -->
<script>
    var vm = new Vue({
        el: '#app',
        data: {
            imgSrc: '',
            imgTitle: '',
            imgExplanation: '',
            imgDate: '',
            imgUrl: '',

        },

        created: function () {
            this.retrieveAPod();
        },

        methods: {
            retrieveAPod: function () {
                var nasaApiKey = 'KManh3u5NCHutCo7CzsQ957fZQOfRNBl1wWqOprT';
                var url = 'https://api.nasa.gov/planetary/apod?api_key=' + nasaApiKey;
                axios.get(url).then(function (response) {
                    vm.imgSrc = response.data.url;
                    vm.imgTitle = response.data.title;
                    vm.imgExplanation = response.data.explanation;
                    vm.imgDate = response.data.date;
                });
            }
        }
    });
</script>

</body>
</html>
Let’s understand the code we have refactored:
- Line 62 to 73 – we have added a method to our Vue instance.
- Line 63 – in our method object we have a function called retrieveApod that makes our asynchronously request to Nasa Open API.
- Line 64 – we define the API key.
- Line 65 – we define our url and also pass the API key.
- Line 66 to 71 – we initiate the get request call.
- Line 58 to 60 – we have used a hook called created to call our retrieveApod function. Now our code is structure a little bit better, we have wrapped up our ajax request in a function with a meaningful name called retrieveApod and executed as soon as our vue Instance is created.
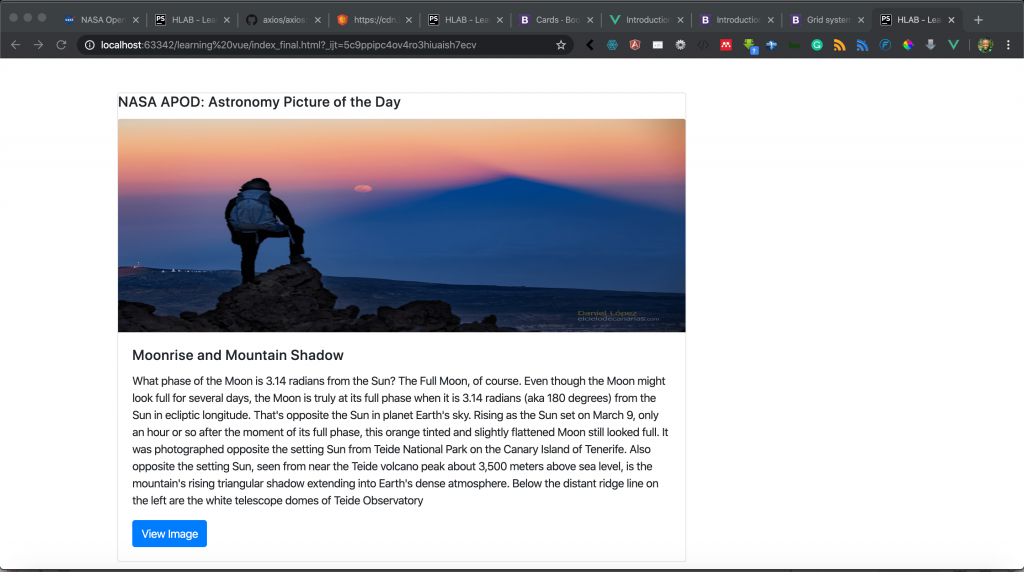
If you now launch this file in your browser the results remain the same. Here is a screenshot:
Understanding Vue Instance Lifecycle
The following are the eight vue Instance lifecycle methods:
| Name | Explanation |
| Before create | The beforeCreate hook runs before the initialization of the Vue component. |
| Created | The created hook allows access to reactive data and events that are active. |
| Before Mount | The beforeMount hook runs right before the initial render functions have been compiled. |
| Mounted | The mounted hook will have full access to the reactive component, templates and rendered DOM. |
| BeforeUpdate | The beforeUpdate hook runs after data changes on your component. |
| Updated | The updated hook runs after the data changes on your component and the DOM re-renders. |
| BeforeDestroy | The beforeDestroy hook runs before the tear down of your component. |
| Destroy | The destroy hook runs and destroy everything in your component. |
The above is a quick overview of the Vue Instance lifecycle, learn more about Vue instance Lifecycle.
Vue Devtools Browser Extension
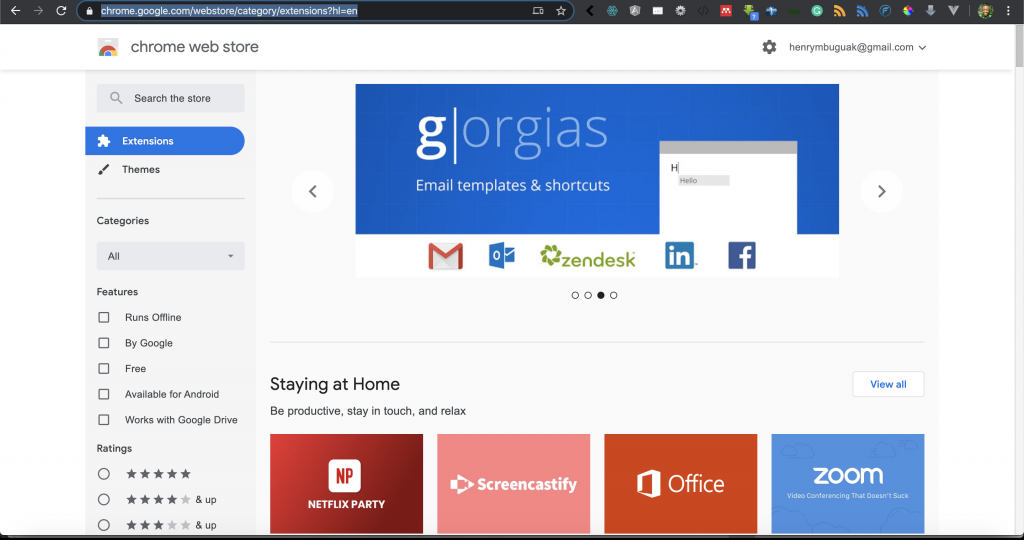
The next step we are going to do is to look for an extension called Vue.js dev tools for chrome browsers. To search for a chrome browser extension, visit this Chrome Browser extension. You will see the following screen:
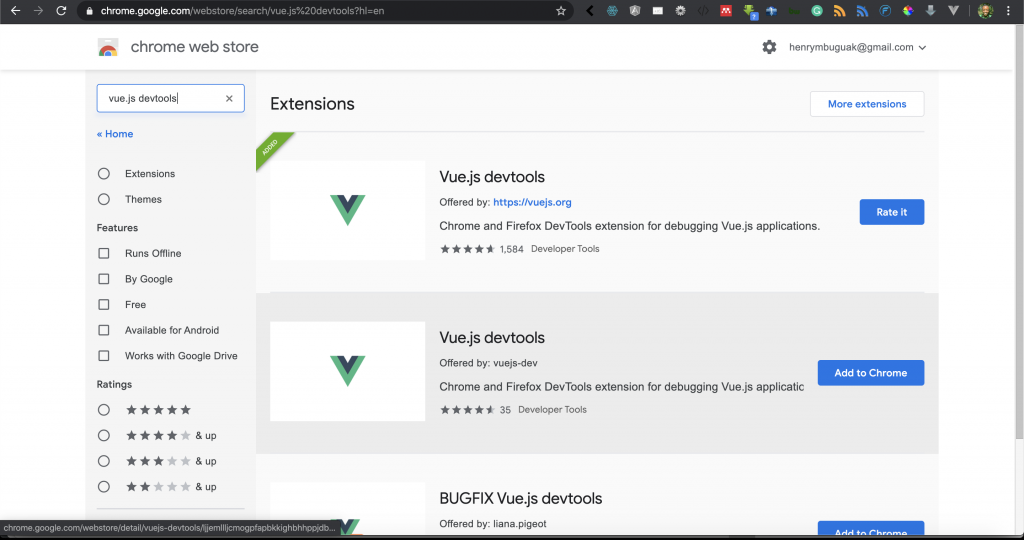
On the search form, search for the vue.js tool and add click add to chrome. Here is a screenshot of my added extensions.
Once you have added, the extension successfully. I am going to press the fn + f12 key on my keyboard to open the console. If you open on the console on a page where Vue is present, click on Vue tab and you get the following:
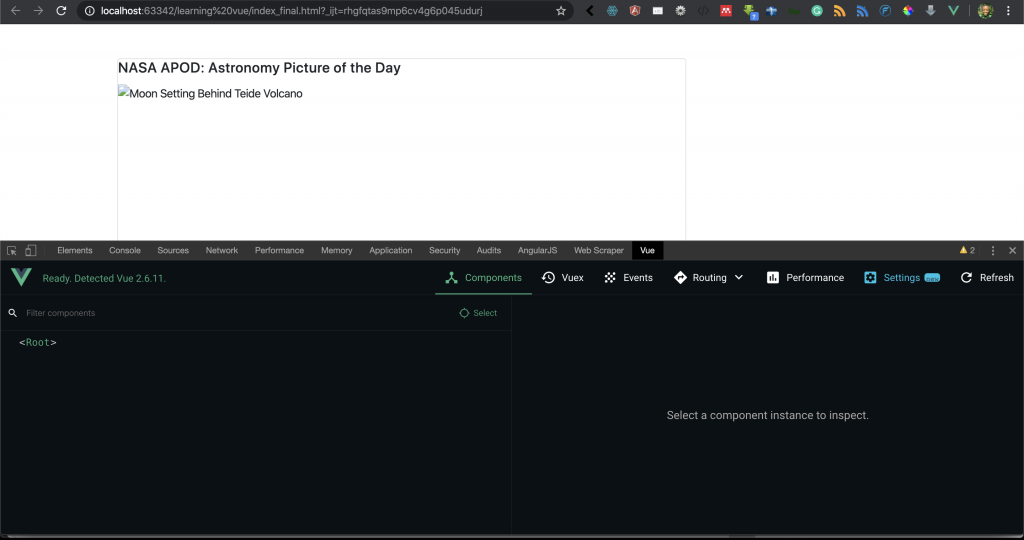
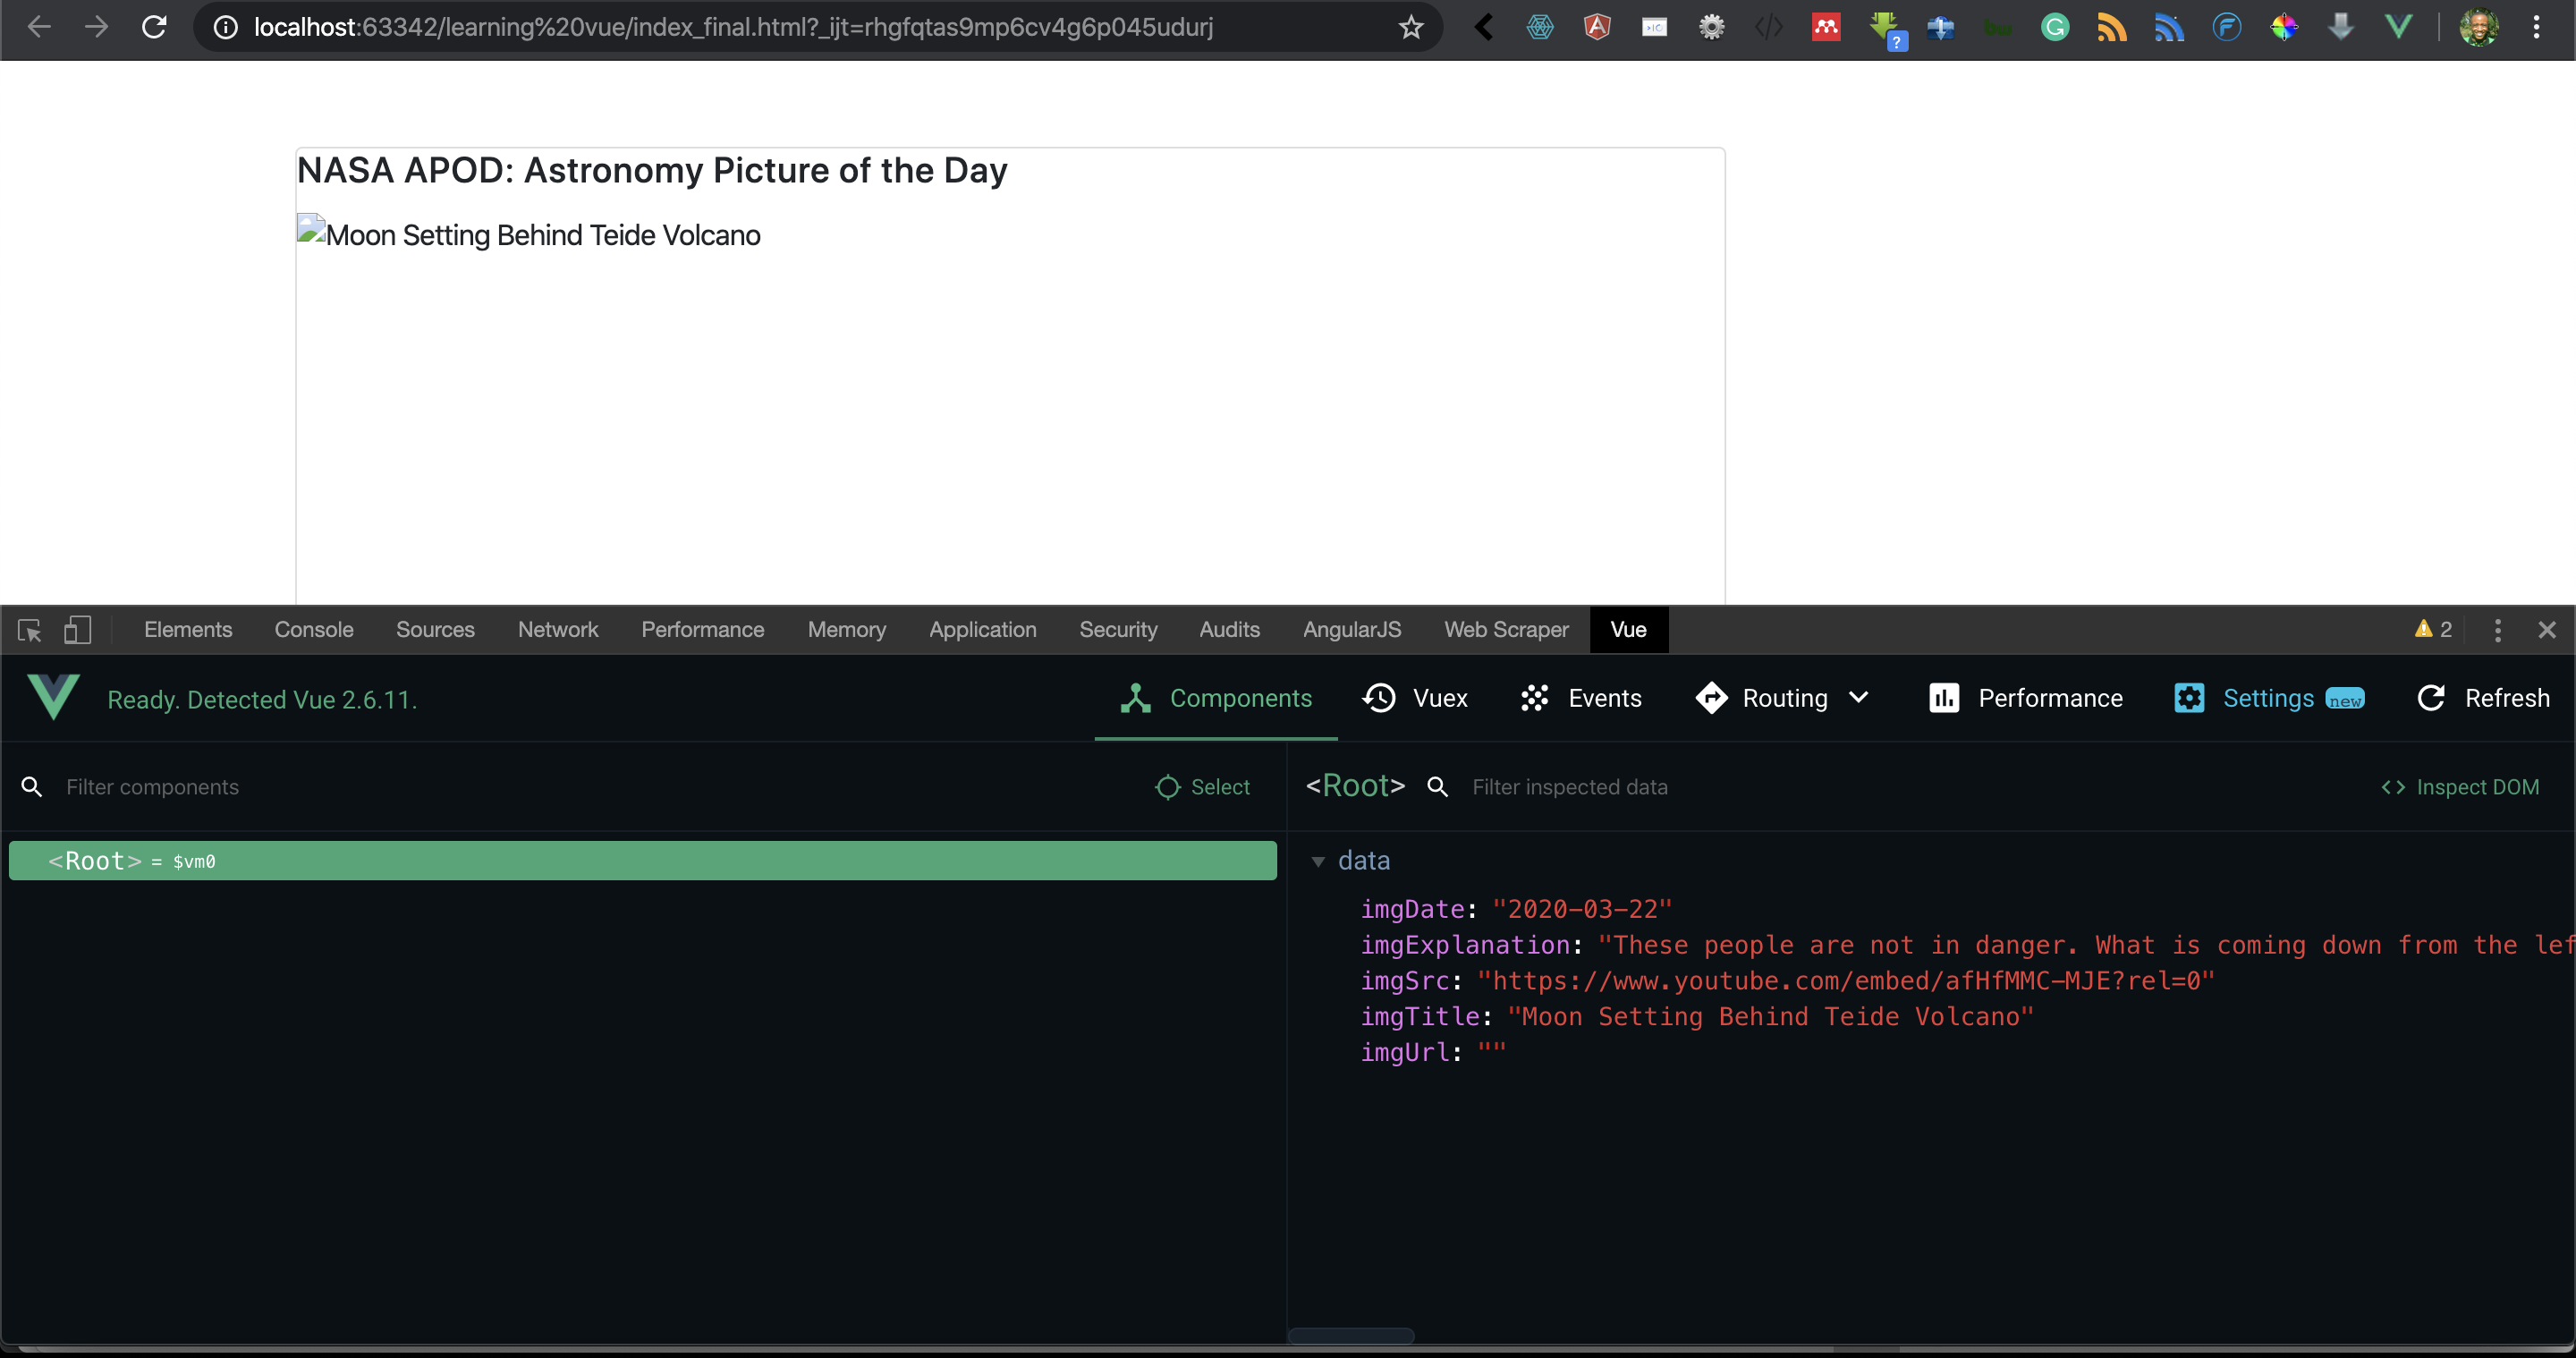
In the example above, when I click on the root we get the following:
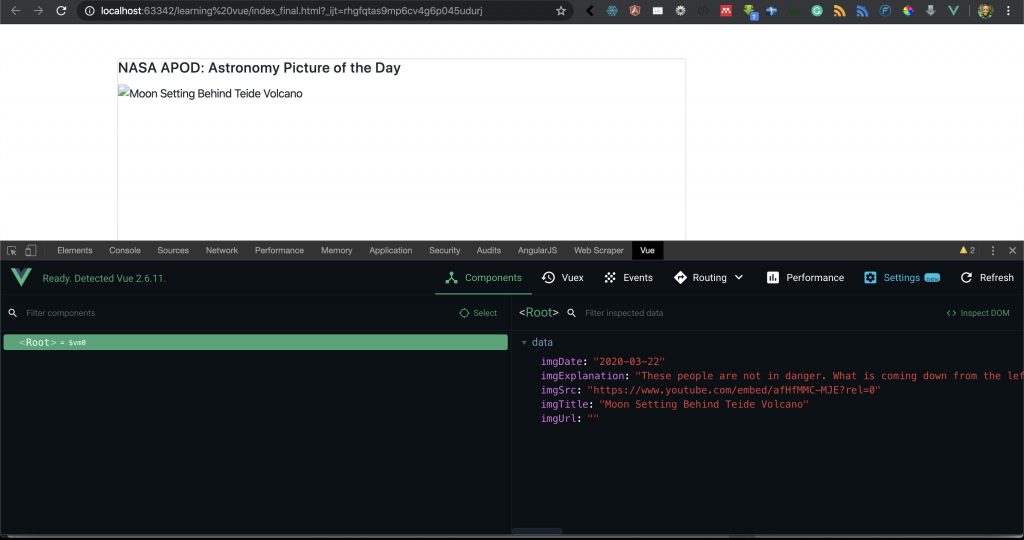
As seen in the above picture, we can see everything we get from Nasa APOD API where we have five data properties. Vue devtools extension will make your work a lot easier.
Goal Achieved in This Lesson
In this lesson, we have achieved the following:
- We have learned how to structure our code.
- We have learned about the Vue instance lifecycle.
- We have learned about Vue devtools extension tools for chrome.
In the next tutorial, we are going to learn more about Vue.js and learn how to consume another NASA API. Proceed to Lesson 3.


Facebook Comments