Hello and welcome to this Python 3.7 and Django 2.2 tutorial series, my name is Henry Mbugua and I will be taking you through the various aspects and new answers of this Django python framework and specifically, the Django authentication system. Django comes with a built-in authentication framework that takes care of registering users, associate content with the creator, restricting access to resources, etc.
Understanding User Model
Django comes with one model for handling users, this model is called User. The User objects are the heart of the authentication system. The primary attributes or fields of the default user are:
- username – required, can accommodate 150 characters or fewer.
- password – required, Django does not store raw password.
- email – optional for email address which can be used for password resetting.
- first_name – optional, can be 30 characters or fewer
- last_name – optional, can be 150 characters or fewer
Django offers an API reference material for the components of Django’s authentication system, Learn more about Django User Model.
Creating Django Project
In this tutorial series, we are going to create a Django project so that we can learn from the ground up, I usually recommend creating a python virtual environment. What you need before we can create a brand-new Django project:
- Make sure you have installed Python 3.7, you can use Anaconda Distribution for your operating system.
- Create a python virtual environment and activate it. How to create a python virtual environment.
Installing Django Web Framework
We are assuming that you have installed python 3.7, created a virtual environment and activated your virtual environment. To install the Django Web framework, run the following command:
pip install Django==2.2.1
As of writing this tutorial, the latest official Django version was 2.2.1. Learn more about Django 2.2.1 release notes. Now that we have a Django framework installed, we are going to create a project called webbasedauth. On your terminal, run the following command,
django-admin startproject webbasedauth
The above command will create a webbasedauth directory in your current directory. If the above command did not work, have a look at problems running django-admin. Am going to open the project on my text editor (Pycharm). Here is a screenshot of my project:

To learn more about the files created by Django, have a look at Django start project explanations. Django comes with a development server, to verify that our project works, on your terminal navigate to where manage.py file is located and run the following command:
python manage.py runserver
You will see the following on your terminal:

Note: Ignore the warning about 17 unapplied database migrations, for now, we will deal with them shortly.
We have started the Django development server and now it’s a good time to note the following:
- Don’t use this server in anything resembling production environment.
- Every time you work on python virtual environment, make sure it’s active.
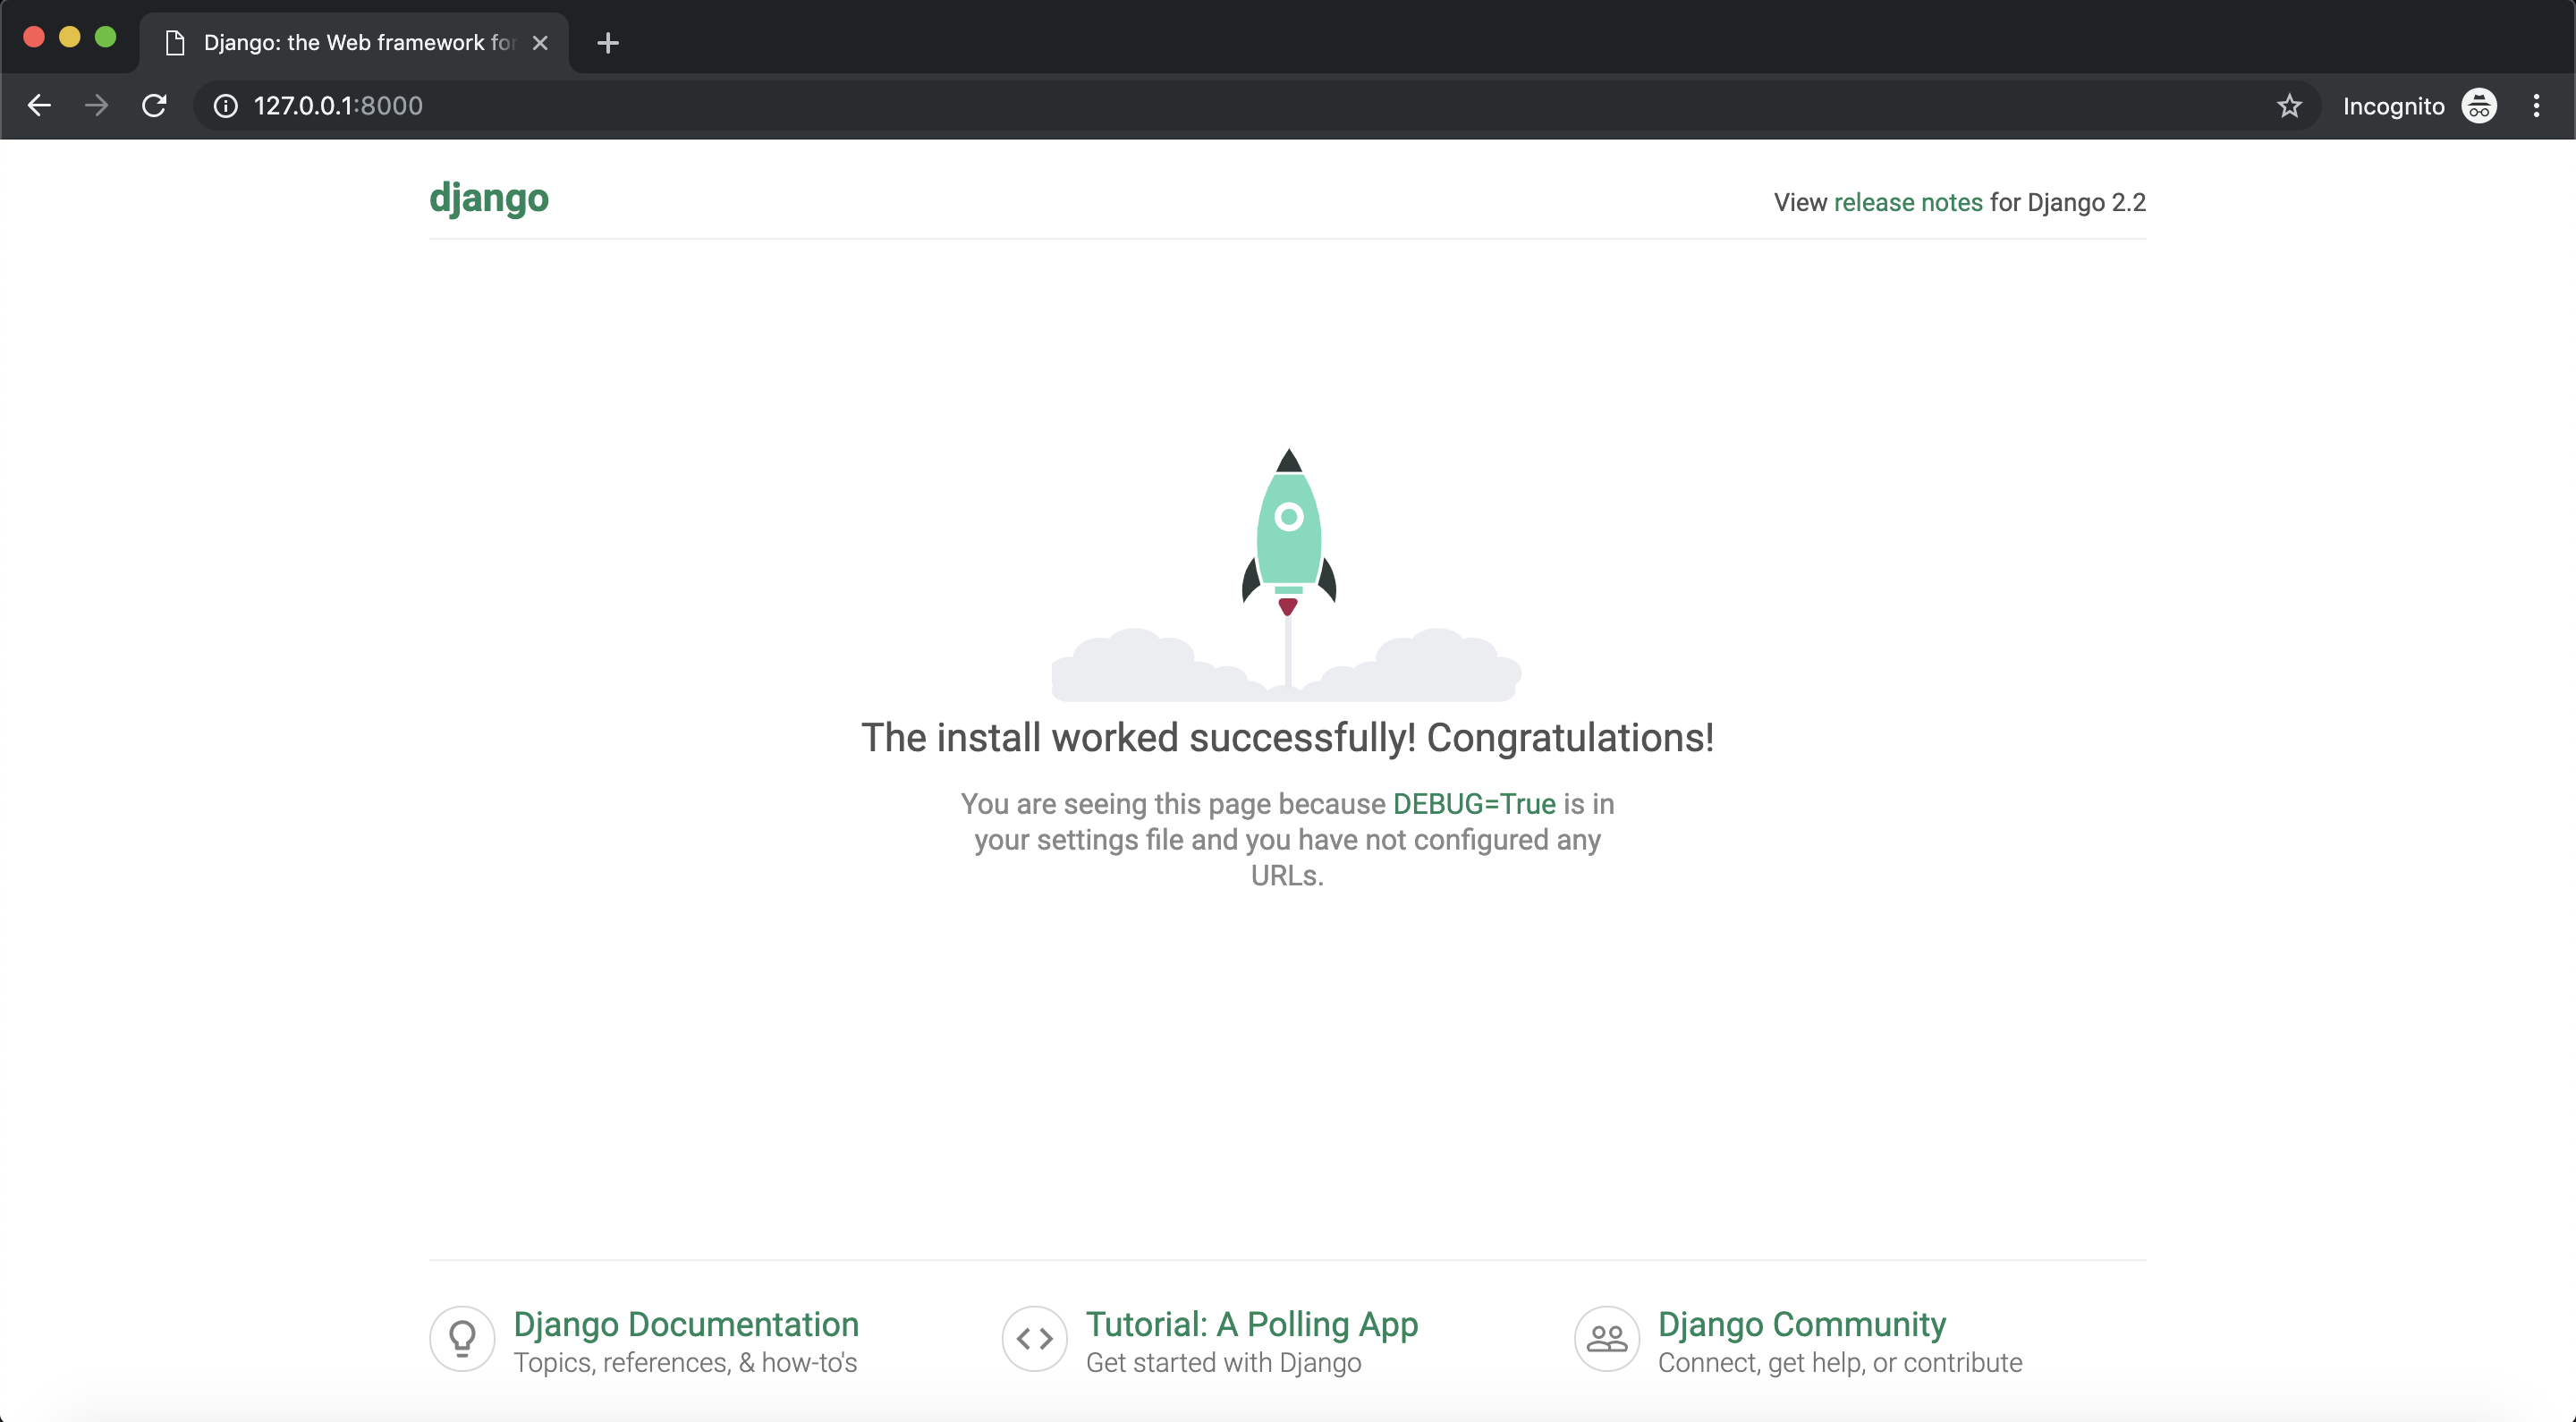
Now that the server is running, visit http://127.0.0.1:8000/ with your browser. Here is a screenshot:

Database Setup
Now open the webbasedauth/settings.py, which is a normal python module with module-level variables representing Django settings. By default, Django is configured to use SQLite. If you are new to databases or you are just trying Django, this is the easiest choice. SQLite is included in python, so won’t need to install anything else to support your database. Here is the database setting configuration in the settings.py file.
DATABASES = {
    'default': {
        'ENGINE': 'django.db.backends.sqlite3',
        'NAME': os.path.join(BASE_DIR, 'db.sqlite3'),
    }
}
Learn more about database configuration in Django web framework.
Django Migration
Django comes with some application already installed and some of these applications make use of at least one database table, that’s why we got a warning of unapplied migration when we run our development server. One of those installed applications by default is the Django authentication system. So, we need to create the tables in the database before we can use them. To do that, run the following command:
python manage.py migrate
Here is the output of my terminal:

Introducing Django Admin
Django comes with an admin site for staff or clients to add, change and delete content. Django entirely automates the creation of admin interfaces of a model. Before we can log in to the admin site, we need to create an admin user by running the following command:
python manage.py createsuperuser
You will be prompted to answer some question like username, email, and password. Here is a screenshot of my output:

Start the development server and navigate to http://127.0.0.1:8000/admin Here is the output.

Log in using the username and password we have just created. Here is the admin site.

Great work!
Goals Achieved in this Lesson
- Basic understanding of User model.
- Creating a Django project.
- Running Django migration
- Introduction to Django Admin.
Now we have a good starting point to start to dig into the Django authentication system. With that, we conclude this lesson. See you in lesson 2.


Facebook Comments