Hello and welcome to this PHP/Laravel tutorial series, my name is Henry Mbugua and I will be taking you through the various aspects and new answers of M-pesa Integration using Laravel web framework and PHP 7.3. Laravel is one the most popular php framework and can help you build php application from ground up with expressive, elegant syntax.
New Laravel Application
In this tutorial, we are going to create a new Laravel application by running the following command on your terminal:
composer create-project –prefer-dist laravel/laravel mpesa_api_integration
Here is a screenshot of my terminal:

The above command will create a directory called mpesa_api_integration containing a fresh Laravel installation with all of Laravel ‘s dependencies already installed. To learn more about Laravel Installation visit Laravel official Installation.
Safaricom Developers Account
Now that we have a new Laravel application, the next step is to make sure that we have an account with Safaricom Developers Account. To create an account visit Daraja Safaricom website, here is a screenshot of the Daraja website.
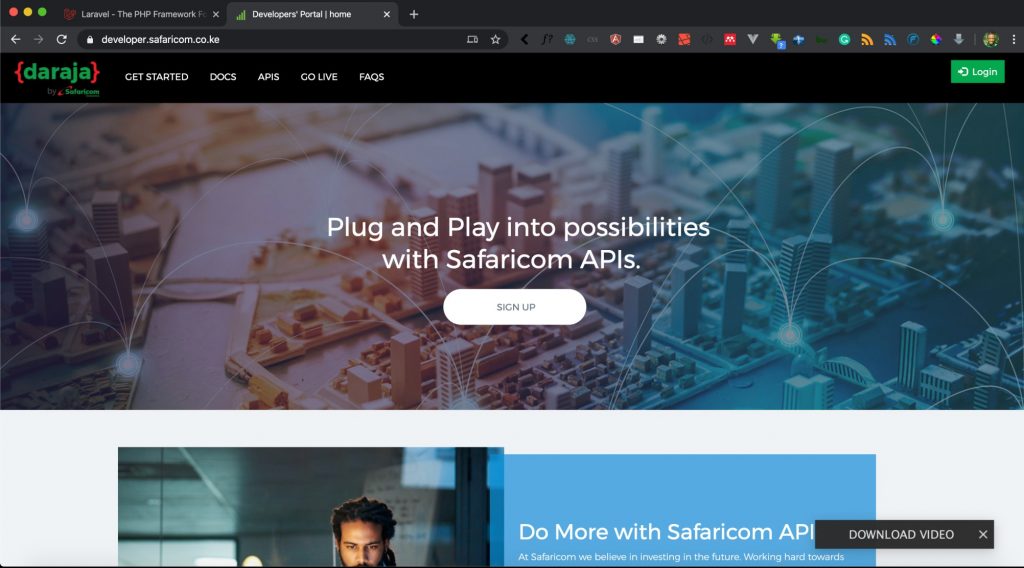
If you have an account with Safaricom Daraja you can log in else sign up. When you log in to your Daraja account, you get the following dashboard screenshot:
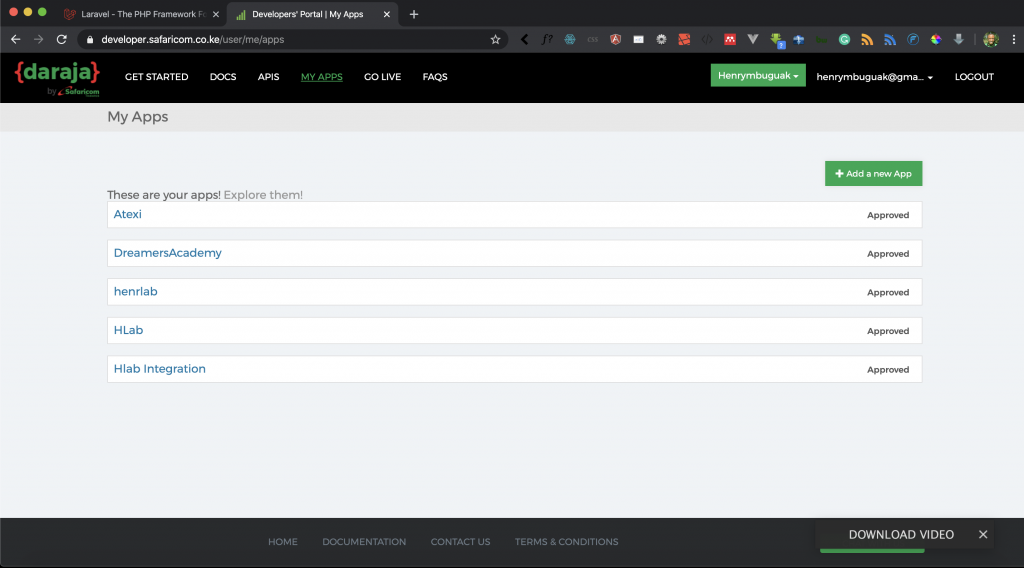
The next step is to create a new sandbox app by clicking on the Add a New App button. In this tutorial, I am going to create an app called Laravel Mpesa API. Here is a screenshot:
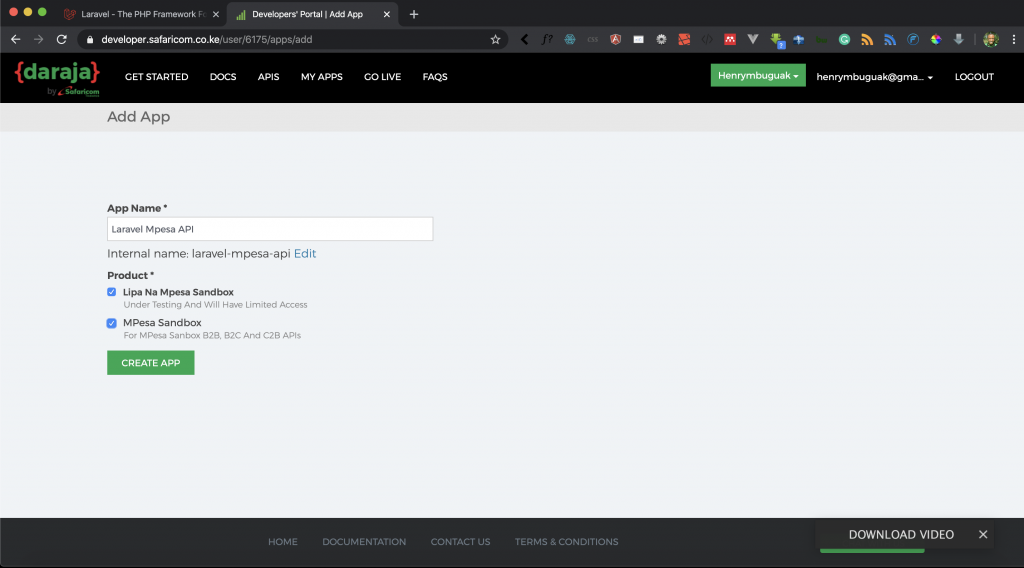
Ensure you select both Lipa na Mpesa Sandbox and Mpesa Sandbox and hit Create App button. You will get the following success message.
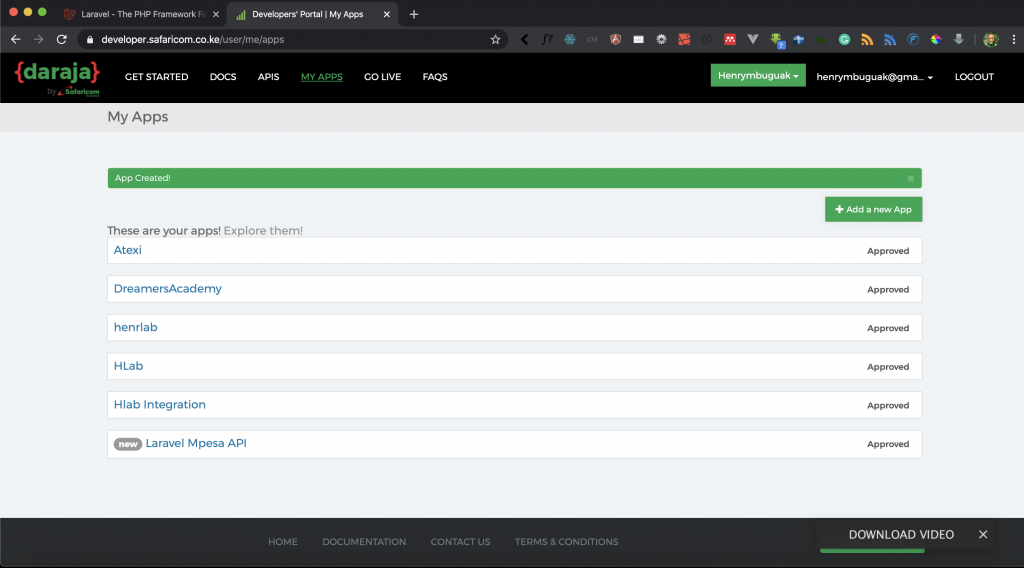
Awesome! Now that we have our app created successfully. Click on your newly created app and you will get the following screenshot.
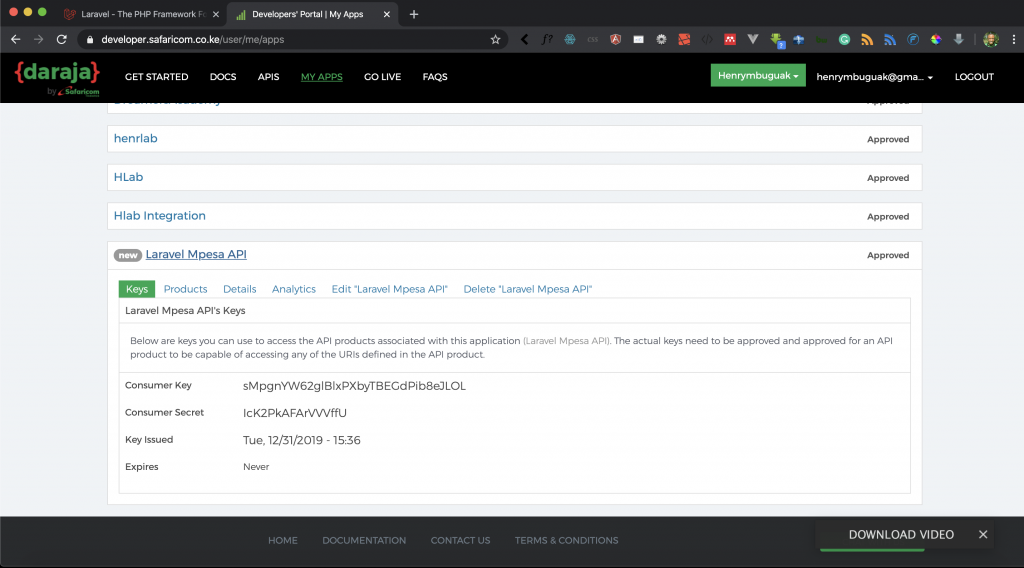
Take note of Consumer Key and Consumer Secret, the two should always be kept as a secret.
NB: Never Share Your Consumer Key or Consumer Secret with anyone.
Learn more about creating M-pesa Sandbox App
Generating M-pesa Access Token
Safaricom M-pesa API uses OAuth 2.0 Access token, to invoke M-pesa API we need to generate OAuth 2.0 Access Token and Use Bearer as the keyword. At the beginning of this tutorial, we created a new Laravel application, I am going to open my application using PHP storm.
The next step is to create a controller, we are going to create a controller called MpesaController by running the following command:
php artisan make:controller MpesaController
The above command has created our basic controller in the app/Http/Controllers directory. By default, the Laravel store controllers app/Http/Controllers directory. Now open our MpesaController.php and make sure it has the following code.
<?php

namespace App\Http\Controllers;

use Illuminate\Http\Request;

class MpesaController extends Controller
{
    public function generateAccessToken()
    {
        $consumer_key="sMpgnYW62glBlxPXbyTBEGdPib8eJLOL";
        $consumer_secret="IcK2PkAFArVVVffU";
        $credentials = base64_encode($consumer_key.":".$consumer_secret);

        $url = "https://sandbox.safaricom.co.ke/oauth/v1/generate?grant_type=client_credentials";
        $curl = curl_init();
        curl_setopt($curl, CURLOPT_URL, $url);
        curl_setopt($curl, CURLOPT_HTTPHEADER, array("Authorization: Basic ".$credentials));
        curl_setopt($curl, CURLOPT_HEADER,false);
        curl_setopt($curl, CURLOPT_SSL_VERIFYPEER, false);
        curl_setopt($curl, CURLOPT_RETURNTRANSFER, true);

        $curl_response = curl_exec($curl);
        $access_token=json_decode($curl_response);
        return $access_token->access_token;
    }
}
Now let’s understand the code in this file.
- Line 9 to 26 – we have created a method called generateAccessToken.
- Line 11 – we define our consumer key and we get the value from the app we created in the Daraja account.
- Line 12 – we define consumer secret we get the value from the app we created in the Daraja account.
- Line 13 – we use Base64 to combine our consumer key and consumer secret. Base64 is simply a group of binary-to-text encoding schemes that represent binary data in an ASCII string format.
- Line 15 – we define a URL to generate access token provided to us by Safaricom Mpesa API.
- Line 16 to 21 – we use curl_setopt to set our options for our curl transfer. Learn more about curl option.
- Line 23 – we create a variable in which we pass the response from Safaricom M-pesa API.
- Line 24 – we use json_decode to convert a JSON object to a php object.
- Line 25 – we access our generated M-pesa access token.
The next step is to define a URL that maps to this method. In our routes folder, open the api.php file and make sure it has the following code.
<?php

use Illuminate\Http\Request;

/*
|--------------------------------------------------------------------------
| API Routes
|--------------------------------------------------------------------------
|
| Here is where you can register API routes for your application. These
| routes are loaded by the RouteServiceProvider within a group which
| is assigned the "api" middleware group. Enjoy building your API!
|
*/

Route::middleware('auth:api')->get('/user', function (Request $request) {
    return $request->user();
});

Route::post('v1/access/token', 'MpesaController@generateAccessToken');
On line 20, we have defined a URL that goes to MpesaController and maps to generateAccessToken method. Remember this is a post method.
Testing Our Generating Mpesa Token Method
Make sure your application is running by using the following command:
php artisan serve
Once you have your development server up and running, launch postman. If you don’t have a postman, you can get it from here. Here is a screenshot of my postman:
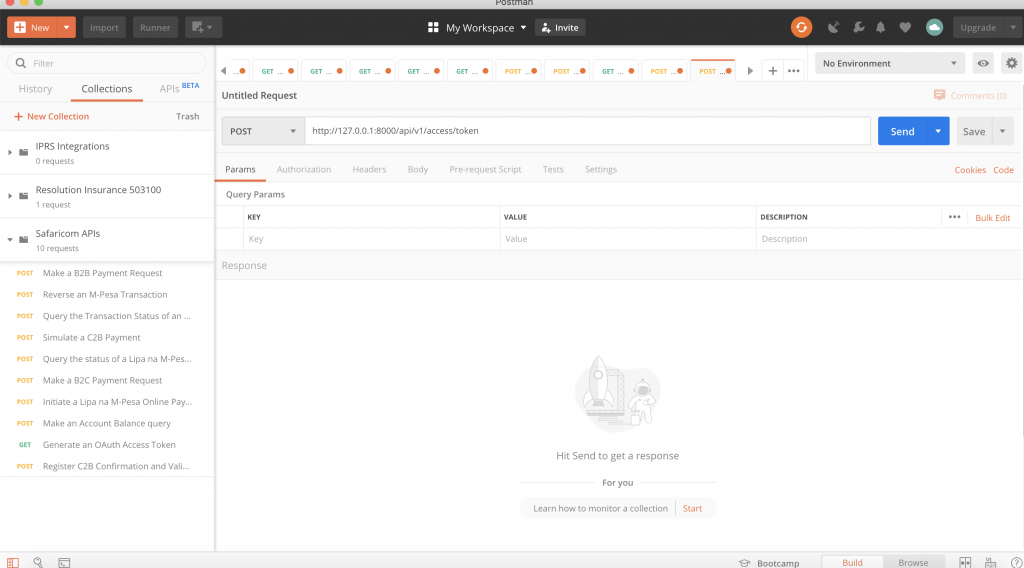
I have already added my URL, take note that this is a post method. When I hit the send button, I get the following results.
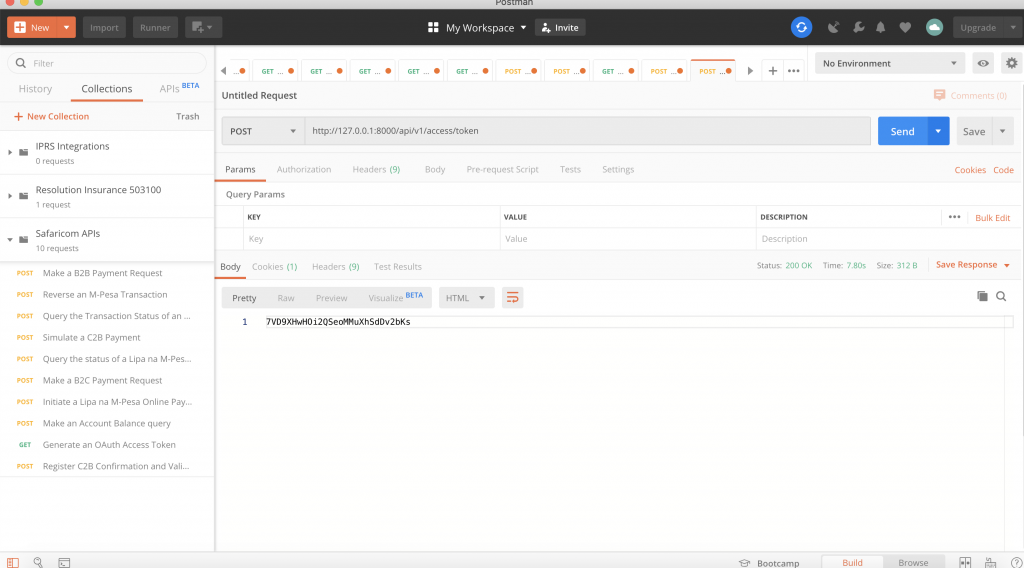
We have successfully learned how to generate the Mpesa access token. In our next tutorial, we are going to learn how to create an STK push.
Goal Achieved in This Lesson
In this lesson, we have achieved the following:
- We have learned how to create a new Laravel application.
- We have learned how to create a new app in Safaricom Daraja
- We have learned how to generate Mpesa API Access token
To get the code associated with this lesson visit Laravel Mpesa API Integration.



Facebook Comments