Hello and welcome to this Python/Django tutorial series, my name is Henry Mbugua and I will be taking you through the various aspects and new answers of how to build better software using Test Driven Development. In lesson 1, we learned why it is important to use test-driven development. In this lesson, we are going to start a new Django application from the ground up by writing test cases first. By doing this process, we will:
- Gather requirements for our application, including user story and acceptance criteria.
- Learn the difference between functional tests and unit tests, and when to use each.
We will get to code soon enough, test-driven development starts the way you would expect, with gathering requirements. We are going to write our requirements as user stories with acceptance criteria, and we are going to translate the user stories into functional tests. Functional tests will help us write unit tests, which will lead to our application code. Learn more about what is user story?
Difference Between Functional Tests and Unit Tests
The type of tests that we write in software development is determined by our audience. Functional tests are wholly focused on user experiences. Functional tests ensure that the functionality of your application adds up to what you promised your users. On the other hand, unit tests typically focus on the concerns of the developers. Unit tests often answer a question like, “If I run function x with input y, do I get output z as expected”. Application users don’t care about unit tests.
The Project – Blog Application in Django Web Framework
Throughout this tutorial series, we will be building a blog application using the Django web framework. One of the main reasons I settled for a blog application is because everyone knows how a blog works. We know that posts are going to be the main element, simply put, when we say a blog application, you can visualize the end goal of this tutorial and everyone is on the same page as to what blog entail.
Let’s get a little bit more specific with some acceptance criteria:
- Users can view a list of posts in our blog applications
- User can view a single post detail page (including the author of the post, date of published)
You probably already have some idea of how you would like to build this out, so let’s start the Django project.
Setting up Development Environment
There are few prerequisites to get out of the way before we can actually start on the project:
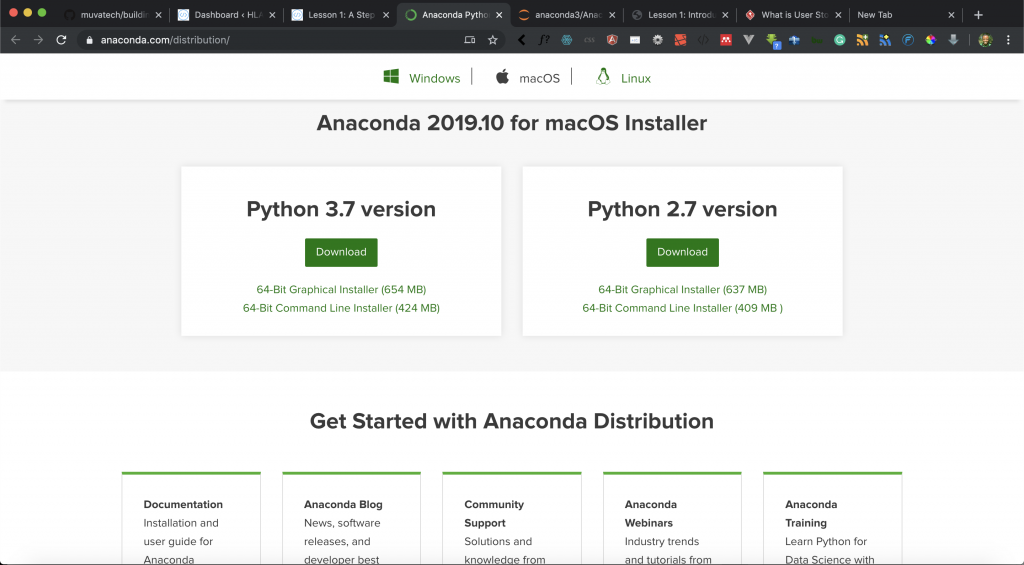
- Python – In this tutorial, we will be using Python 3.7 I encourage you to use Anaconda Distribution to install Python if you don’t have python on your machine.

- Virtual environment – you should use a virtual environment for this project. Once you have got a version of Python installed, check out how to create a virtual environment in python guide.
- Using pip – Once you get a virtual environment set up and activated, pip will be available in that environment. Learn more about pip.
Starting the Project
At this point, I am assuming you have already set up your python virtual environment and activated it. If not, have a look at this tutorial on how to set up a python virtual environment. Once you have got a Python environment set up, the next step is to create and move into a directory to start your project.
On my terminal, I am going to install Django into my environment by running the following command:
pip install django
Here is the output:

Now that we have Django installed, from the command line, cd into a directory where you would like to store your code, then run the following command:
django-admin startproject mysite
This will create a mysite directory in your current directory. If it didn’t work, see problems running django-admin. To make sure we have got everything set up correctly, let’s move into the project folder by using cd mysite on the terminal and try running tests by using the following command:
python manage.py test
Here is the output of my terminal.

Believe it or not, this actually tells us something. We now know that we have got a Django project where we can write some tests. We also know that our development environment is set up correctly since we didn’t get any errors trying to run our test command.
Version Control Repository
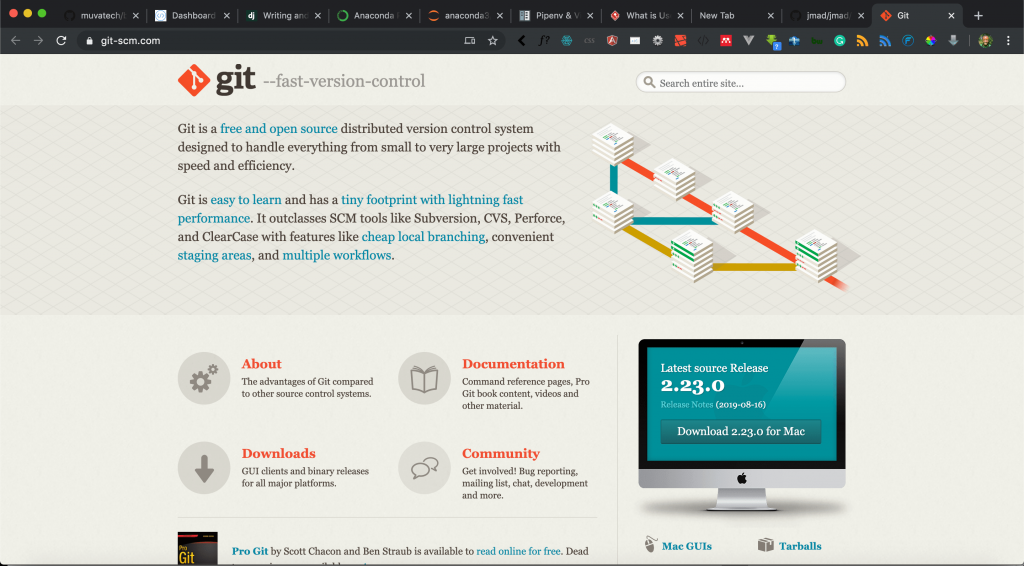
We have made some good progress, so let’s set up our version control and make a commit. You will need to install Git. Check out how to install git here for a version of your OS. I am on Mac so use Homebrew.

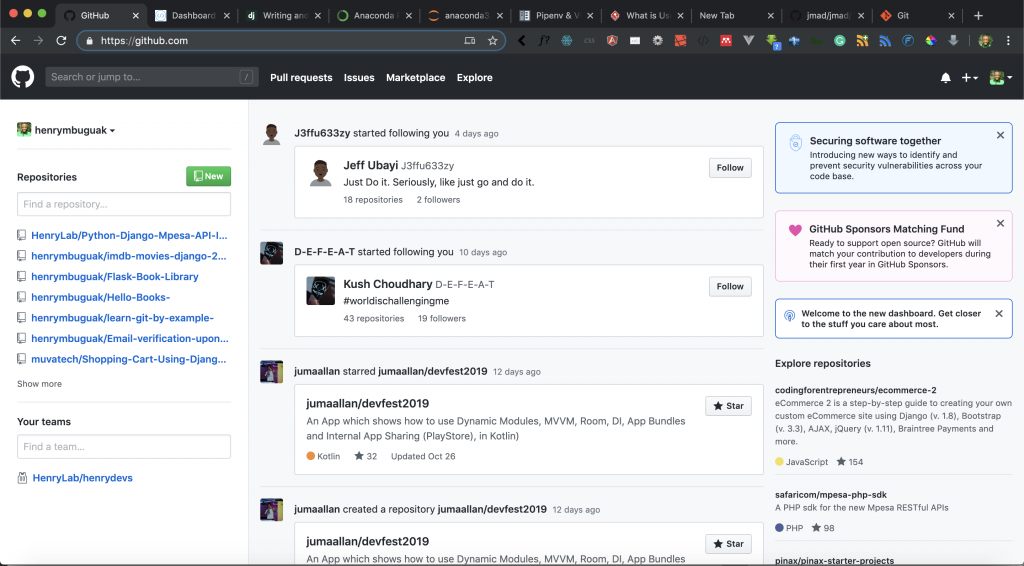
Once you have got Git installed, we are going to use Github to push our code. In lesson 1, we mention that we should have a Github account. I am going to login to my Github account and here is a screenshot.

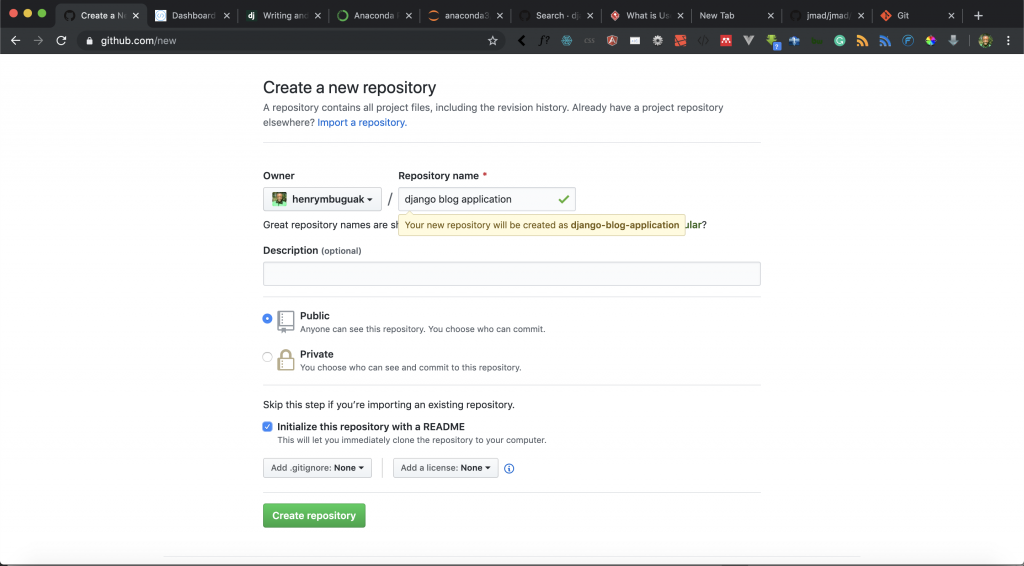
From the screenshot above, I will click New, to create a new repository. Here is a screenshot:

I have called my application – django blog application. I have also selected the repository to be public and also selected initialize the README option. All I have to do is to hit the Create repository button. Now that we have our remote repository created on Github, let’s do our first commit.
Step 1:
I am going to initialize my project directory by running the following command:
git init
Step 2:
The next step is to add files to staging by running the following command:
git add *
Step 3:
The next step is to commit the changes to the head but not to yet to the remote repository by running the following command:
git commit -m"First commit our blog application"
Step 4:
The next step is to connect our local repository to our Github repository we created above. We are going to use the following command:
git remote add origin https://github.com/henrymbuguak/django-blog-application.git
Note: Your URL will be different from mine.
Step 5:
The next step is to send changes to the master branch of our remote repository by running the following command:
git push origin master
When you run the above command, you will get the following error:

The reason I am getting that error it’s because I initialized my repository with the README file. To solve that error, I will run the following command:
git pull --allow-unrelated-histories origin master
The command above will fetch and merge changes on the remote server (Github) to my working directory. Now I am going to send changes to the master branch of our remote repository by running the following command:
git push origin master
Here is a screenshot of my terminal:

If you go back to Github, you will be able to confirm that your code was successfully published. Git has a ton of cool features that warrant their own book, we will only scratch the surface. Learn more about git command.
I encourage you to follow along with the examples by typing them directly into your command line and text editor. TDD is all about establishing a flow, and you can’t establish a flow by copying and pasting.
Task
Before our next tutorial ensure you have an account with Travis CI account.
Goal Achieved in This Lesson
In this lesson, we have achieved the following:
- We have learned the difference between functional tests and unit tests.
- We have successfully set up our project.
- We have created and committed our first commit to our remote repository
With that, we conclude this lesson. In lesson 3, we will connect our repository with Travis CI and continue with our blog application development using rigorous TDD methodology, learning some of the testing tools available in Django and Python along the way. To get the code associated with this lesson visit Python/Django Test-Driven Blog Application Development.


Facebook Comments