Hey and welcome to this Python/Django tutorial series, my name is Henry Mbugua and I will be taking you through the various aspect and new answer of M-pesa Integration using Django web framework and Python 3.7. In lesson one, we learned the importance of having Mpesa developers account, in this lesson we are going to set up our Django project and also generate Mpesa access token.
Mpesa API’s
Mpesa API’s has been very successful mainly because of its simplicity of use and device agnostic nature – from smartphone to feature phone it works the same. Safaricom offers the following Mpesa APIs:
- Reversal
- Transaction Status
- Account Balance
- Business to Customer (B2C)
- Customer to Business (C2B)
- Mpesa Express
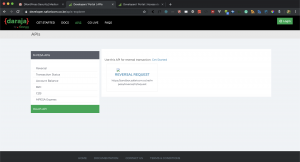
Here is a screenshot of the Mpesa APIs

Now that we have a better understanding of Mpesa APIs, it’s time to do the actual coding. I usually prefer to set up my Django projects in a virtual environment. Learn how to set up a python virtual environment, In this tutorial, I will assume you have already installed Python 3.7. If you are using a virtual environment remember to activate it, to install Django use the following command on your terminal:
pip install Django
Once you have installed Django on your machine, the next step is to create a Django project. On your terminal, run the following command:
django-admin startproject mysite
The above command will create a Django project with the name mysite, here is how my newly created project looks like:

To test whether the project is running, I will navigate to my project base directory (where manage.py file is located) and run the following command:
python manage.py runserver
Here is the output of my terminal:

Perfect, our project is up and running. On my browser, I will navigate to http://127.0.0.1:8000/
Here is the output:

Creating the Mpesa API Integration App
Now that our environment – a “Project” – is set up, we are set to start doing work. Django comes with a utility that automatically generates the basic directory structure of an app, so you can focus on writing code rather than creating directories. In this tutorial, we will create our mpesa API app right next to your manage.py file so that it can be imported as its own top-level module, rather than a submodule of mysite.
To create our app, make sure you are in the same directory as manage.py and type this command:
python manage.py startapp mpesa_api
That will create a directory mpesa_api, which is laid out like this:

This directory structure will house the mpesa_api application. The next step is to include mpesa_api app in our project, we need to add a reference to its configuration class in the INSTALLED_APPS settings. Edit the mysite/settings.py file and add that dotted path to the INSTALLED_APPS settings. It will look like this:
# Application definition

INSTALLED_APPS = [
    'mpesa_api.apps.MpesaApiConfig',
    'django.contrib.admin',
    'django.contrib.auth',
    'django.contrib.contenttypes',
    'django.contrib.sessions',
    'django.contrib.messages',
    'django.contrib.staticfiles',
]
Let’s write our first view (mpesa access token view). Open the file mpesa_api/views.py and put the following python code in it:
from django.http import HttpResponse


def getAccessToken(request):
    return HttpResponse("Hello, world")
That is the simplest view in Django. To call the view, we need to map it to a URL – and for this, we need a URLconf. To create a URLconf in the mpesa_api directory, create a file called urls.py. Your mpesa_api directory should now look like:

In the mpesa_api/urls.py file include the following code:
from django.urls import path

from . import views


urlpatterns = [
    path('access/token', views.getAccessToken, name='get_mpesa_access_token'),
]
Let’s understand the code in this file:
- Line 1 – we import a function called path which returns an element for inclusion in urlpatterns.
- Line 3 – we import all methods in our views.py file.
- Line 7 – we define our URL which is pointed to our getAccessToken view.
The next step is to point the root URLconf at the mpesa_api.urls module. In mysite.urls.py, add an import for django.urls.include and insert an include() in the urlpatterns list, so you have:
from django.contrib import admin
from django.urls import path, include

urlpatterns = [
    path('api/v1/', include('mpesa_api.urls')),
    path('admin/', admin.site.urls),
]
The include() function allows referencing other URLconfs. On line 5 we reference our mpesa_api URLconf, we have now wired getAccessToken into the URLconf. Verify it’s working with the following command:
python manage.py runserver
On your browser, navigate to http://127.0.0.1:8000/api/v1/access/token You should get the following results:

Generating Mpesa Access Token
To make an API call to Mpesa APIs, we will need to authenticate our app. Safaricom provides an OAuth for generating an access token, which supports client_credentials grant type. Since we will be making an HTTP request to mpesa sandbox, we need a python library to make HTTP requests. In this tutorial, we are going to use python requests library which abstracts the complexities of making requests behind a beautiful, simple API so that you can focus on interacting with the services and consuming data in your application.
To install the python-requests library, use the following command:
pip install requests
After installing requests, the next step is to modify the getAccessToken method, open mpesa_api/views.py file and make sure it has the following code:
from django.http import HttpResponse
import requests
from requests.auth import HTTPBasicAuth
import json


def getAccessToken(request):
    consumer_key = 'cHnkwYIgBbrxlgBoneczmIJFXVm0oHky'
    consumer_secret = '2nHEyWSD4VjpNh2g'
    api_URL = 'https://sandbox.safaricom.co.ke/oauth/v1/generate?grant_type=client_credentials'

    r = requests.get(api_URL, auth=HTTPBasicAuth(consumer_key, consumer_secret))
    mpesa_access_token = json.loads(r.text)
    validated_mpesa_access_token = mpesa_access_token['access_token']

    return HttpResponse(validated_mpesa_access_token)
Let’s understand the code in this file:
- Line 1 – We import HttpResponse class which we use to pass the contents of the view.
- Line 2 – we import requests which help us to make an HTTP request.
- Line 3 – we import HTTPBasicAuth from requests for authentication purpose.
- Line 4 – we import JSON, which we help us to parse JSON string using json.loads()
- Line 8 and 9 – we define our consumer_key and consumer_secret. In lesson one, we created an app in Mpesa Daraja account, to retrieve this information. You need to login to mpesa Daraja account, open your app and copy them. Here is a screenshot for guiding:

- Line 10 – Mpesa gives a URL to use in order to generate the access token. We define this URL here.
- Line 12 – we use requests.get method to initiate an HTTP call to mpesa sandbox.
- Line 13 – we use json to parse json string response from Safaricom using json.loads()
- Line 14 – we access our token in the json.
- Line 15 – we simply return our access token.
To verify that we are able to get the access token from Safaricom, make sure that your Django development server is running by using the following command:
python manage.py runserver
Navigate to http://127.0.0.1:8000/api/v1/access/token on your browser. You should get the following results:

Great, we are now able to generate an access token.
Task
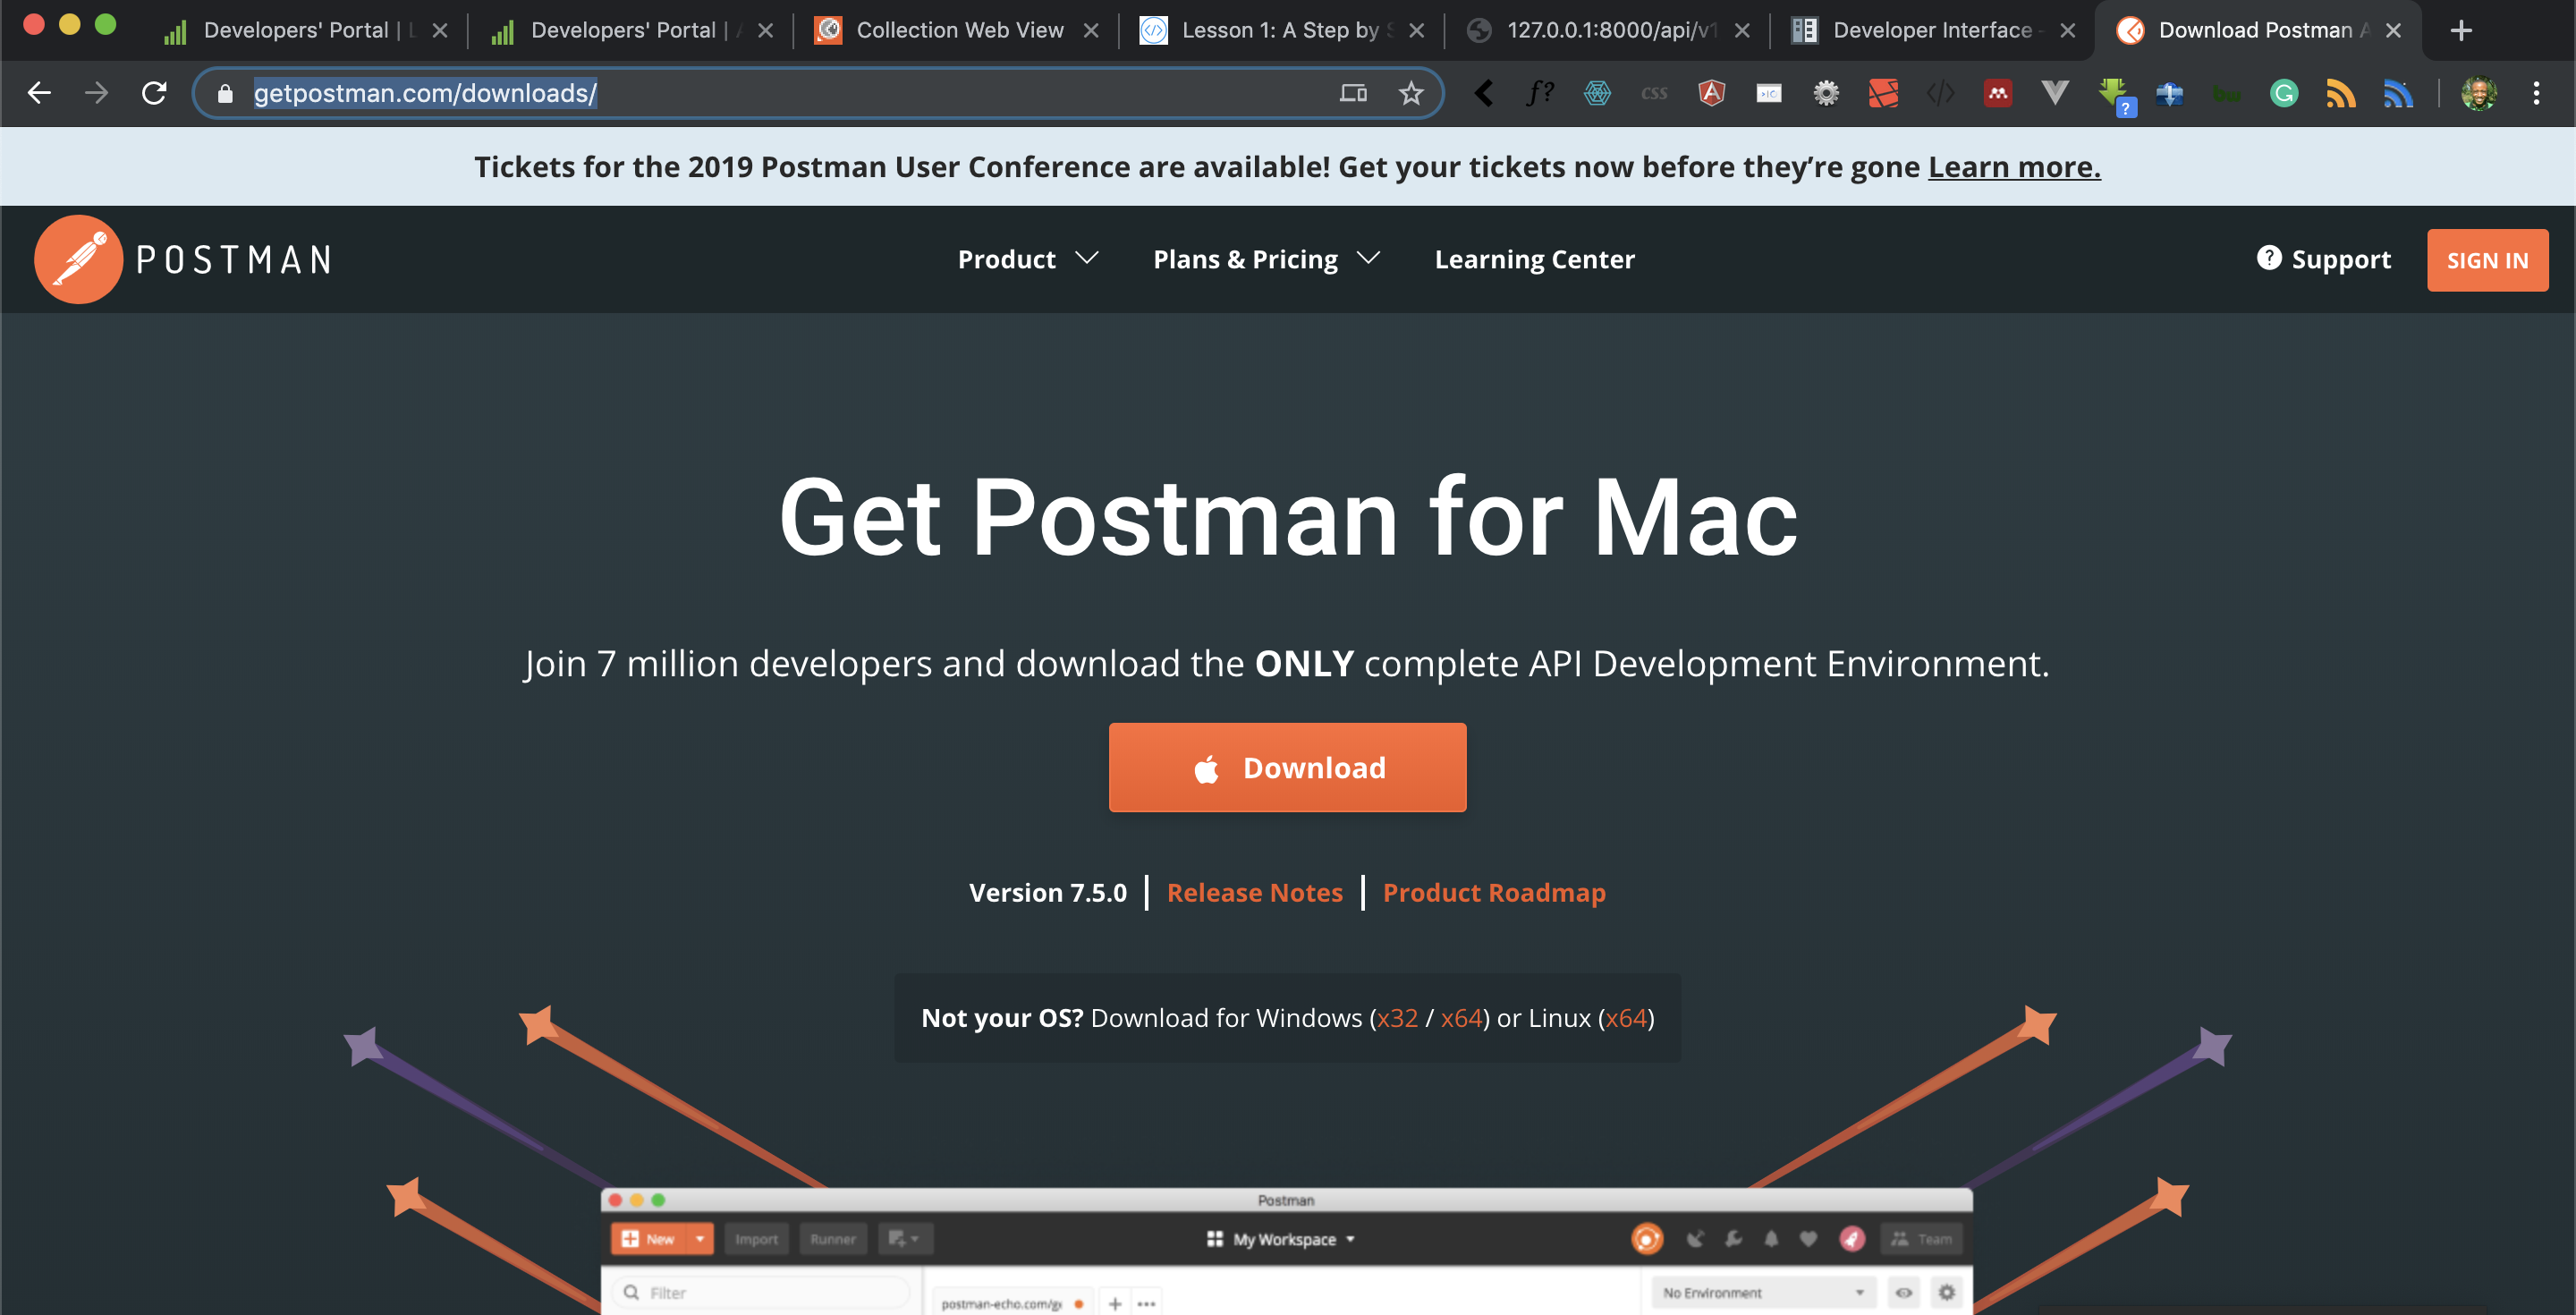
To advance our skills in API development, we need to use better tools. As we continue with this tutorial series, we cannot use a browser for our testing. We need a better tool, we highly recommend POSTMAN which is a complete api development environment. Download and install Postman on your machine.

Goal Achieved in This Lesson
In this lesson, we have achieved the following:
- We have created our project
- We have created our Mpesa api app
- We have learned how to generate Mpesa access token
- We have introduced Postman for API development
To get the code associated with this lesson visit Python/Django Mpesa Integration. See you in lesson 3.


Facebook Comments