Hey and welcome to this Laravel tutorial series, my name is Henry Mbugua and I will be taking you through the various aspect of creating a blog in Laravel 5.7 web framework and Php 7.2. In part I of this tutorial series, we managed to set-up our Laravel blog project and we are going to continue from where we left.
In part II, we are going to focus on creating our blog admin portal and this will give ability for authors to create, read, update and delete posts. When we talk about admin portal, it means that we have to create some type of authentication where authors can register, login and logout. Fortunately, Laravel makes implementing authentication very simple. As a matter of fact, almost everything is configured out of the box.
Laravel Authentication
Laravel provides a quick way to scaffold all the routes, views and controllers we need for authentication using one simple command. On my terminal, I will navigate to our blog project directory (where artisan file is located) and learn the following command:
php artisan make:auth
Here is a screenshot after running the above command.

The above command will install layout view, registration and login views, as well as routes for all authentication end-points. On you terminal, run the following command to launch you development server.
php artisan serve
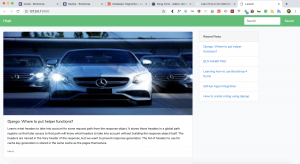
After running the above command, launch your favorite browser and navigate to http://127.0.0.1:8000/ you will see the following screenshot on your browser.

At the top right corner, we now have Login and Register links. Try and click on them and see what happens.
Configuring Our Database
If you can recall in part I of this tutorial series we had mentioned about

This is our .env file and we need to edit the database configurations. You need to enter you database name, username, and password. Once we do that, on my terminal, I will navigate to our blog project and run the following command:
php artisan migrate
Here is a screenshot after running the above command.

The above command runs all outstanding migrations, in other words we have created initial tables that ships with Laravel into our database. At this point we can register a new user in our blog application. Make sure your development server is running and navigate to http://127.0.0.1:8000/ click on register link and fill the form.

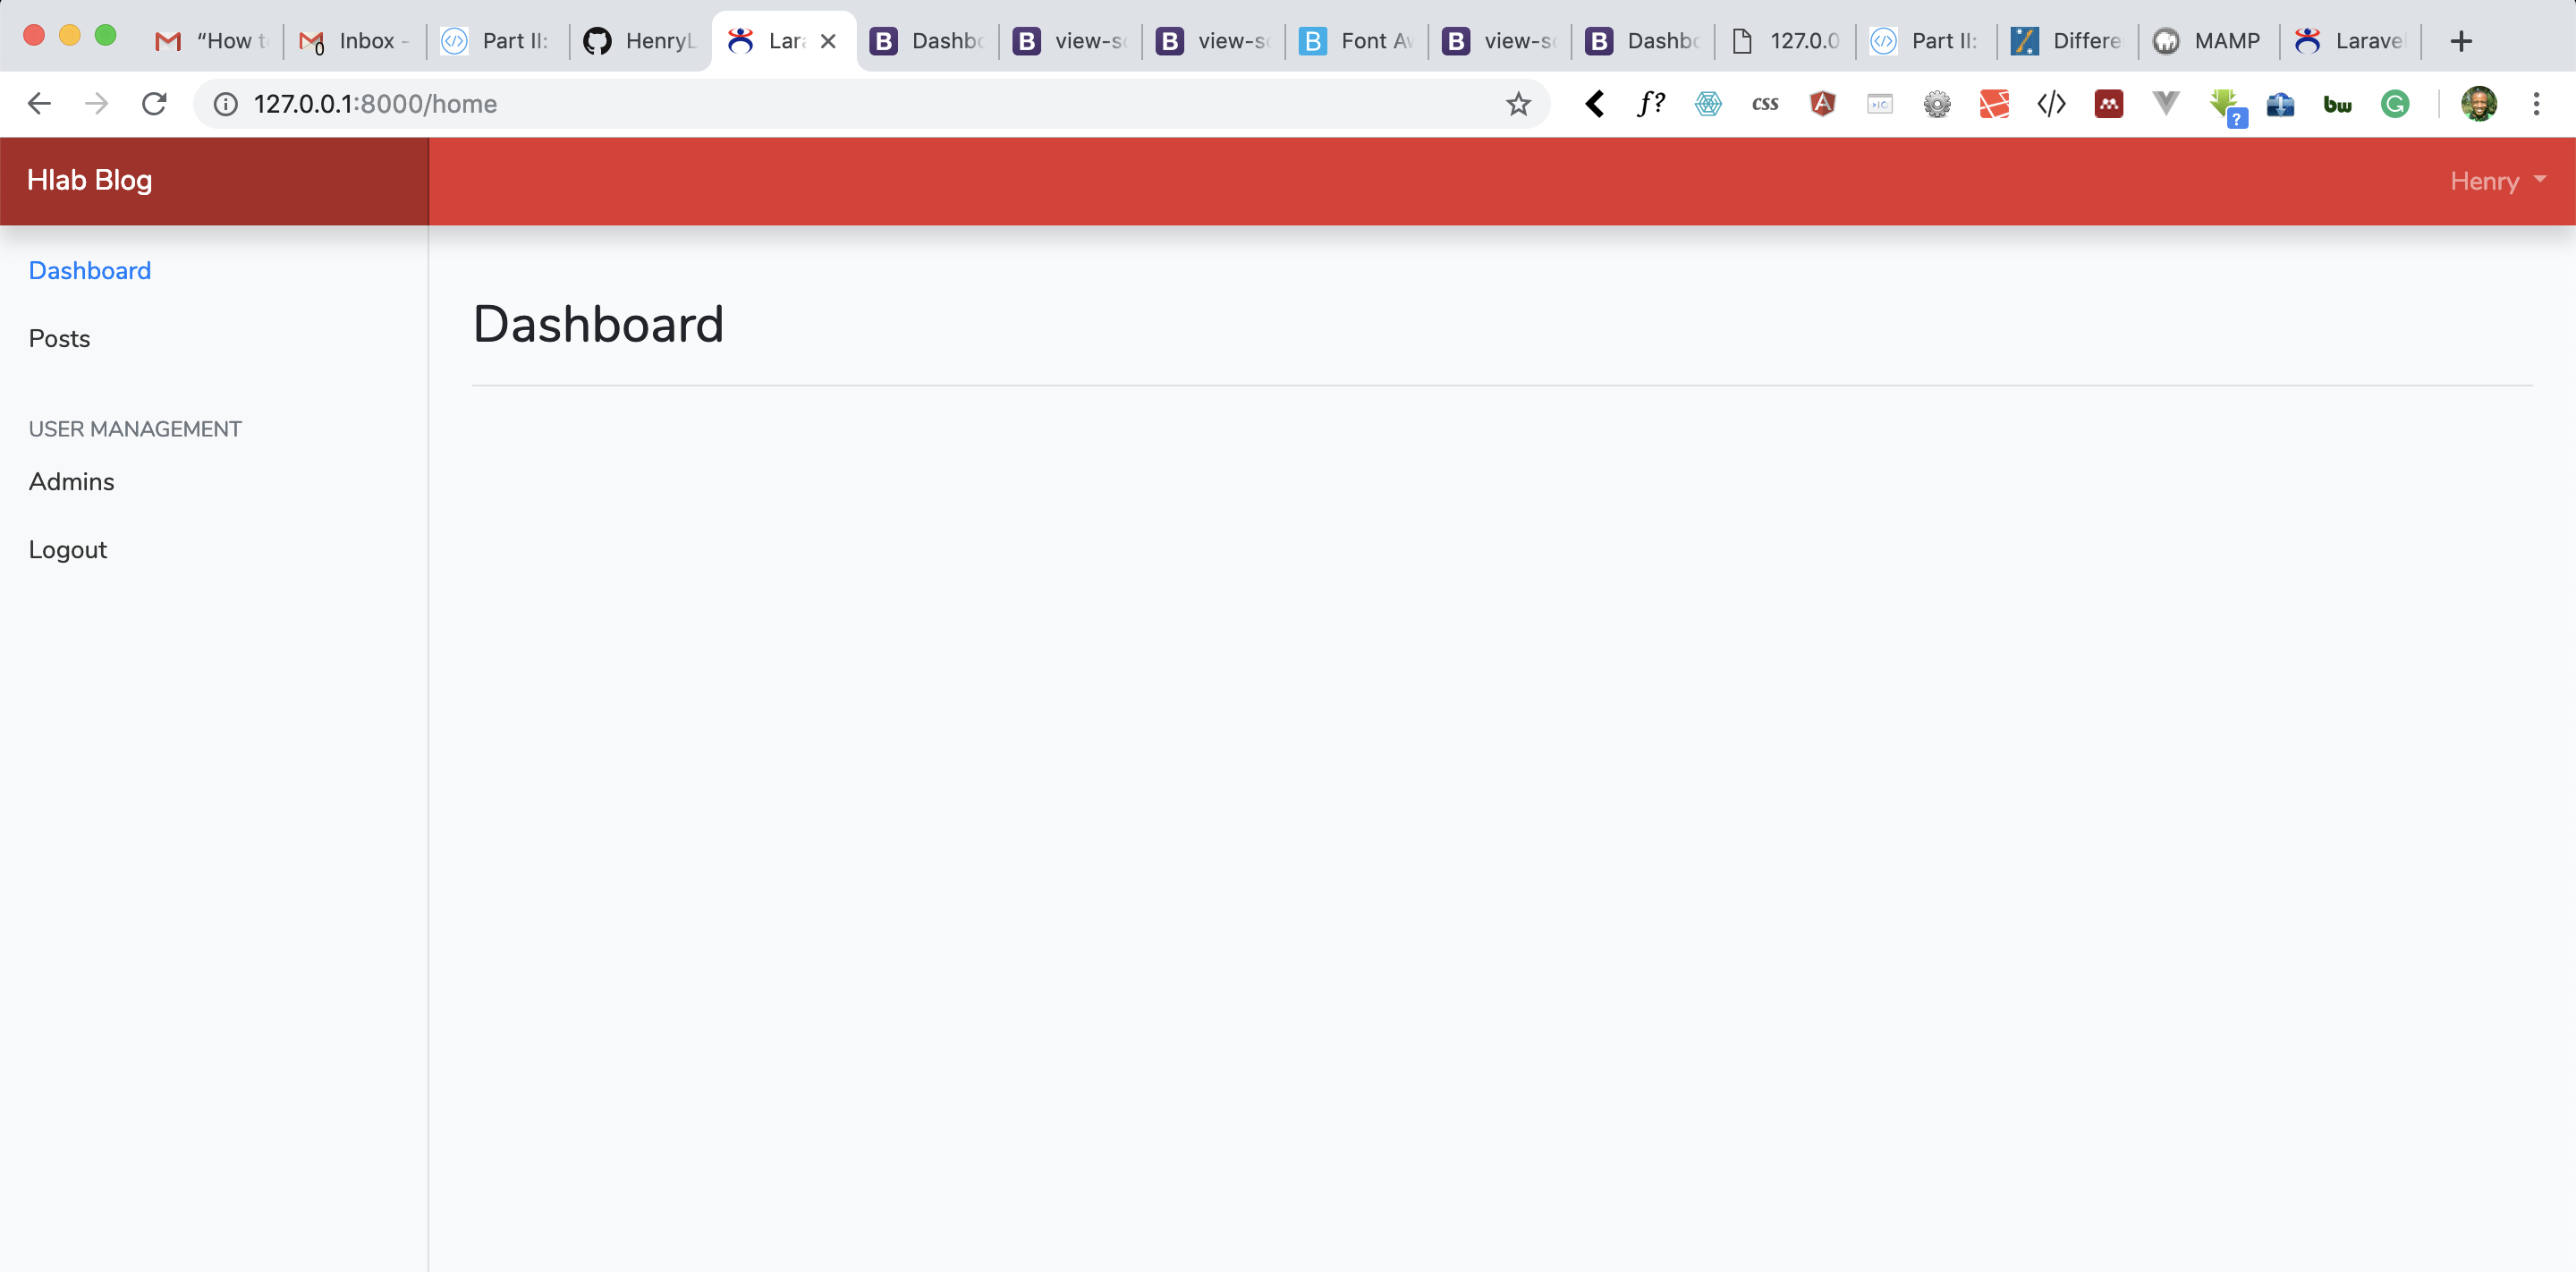
After filling the form, click register. You will see the following screen.

You are now authenticated to your blog admin portal. To learn more about Laravel authentication visit Laravel authentication
Goal Achieved in this section
- We have learned how to use php artisan make:auth
- We have learned how to connect Laravel application to database.
- We have learned how to run migrations.
Question: Do you prefer Lamp, Wamp, Xampp or Mamp?
In the next lesson, we will continue building our blog admin portal, step by step together with you and this lesson has given us a great starting point. See you in Lesson III.
You can grab the code used in this tutorial at blog application in Laravel 5.7


Facebook Comments