Hello and welcome to this python, django tutorial series. My name is Henry Mbugua and I will be taking you through the various aspect of signing up a new user and ask them to confirm that they own or control the email address used during sign up, by sending a confirmation email to activate there account.
Reason for sending confirmation email
Why do we need to send a confirmation email? Here are few reason why it’s important:
-
If you plan to send security sensitive information such as forgot password reset token.
-
A verified email has a higher value for email marketing purposes
-
A verified email helps to prevent online bullying incase you allow comments on your sites.
Question
What other reason do you think we should send confirmation email to activate an account?
Creating Python Virtual Environment
We are going to begin with creating a new virtual environment and setup a new django project. Python virtual environment help us manage python module, dependencies and version. In this tutorial I will be using Linux Os, to create virtual environment for our new project, On my terminal am going to navigate to my desktop. On my desktop, I have a folder called django_dev. I will navigate inside Hlab folder and run the following command:
virtualenv virtual_env
Here is a screen-shot of my terminal:

The above command will create a python virtual environment called virtual_env. One thing to note is that the name here is arbitrary, meaning you can call python virtual environment any name, provided is not a key word in python. To learn more about virtual environment visit python guide on virtual environment.
Question
How do you create your virtual environment?
In order to use our newly created virtual environment, we need to activate it. To activate our virtual environment, I am going to run the following command:
source virtual_env/bin/activate
Here is a screen-shot of my terminal:

From my terminal, the name of the current virtual environment will now appear on the left of the prompt i.e. (virtual_env) henry@henry-Lenovo-G50-30 ~/Desktop/django_dev $
From now on, any package that we install using pip will be placed in the virtual_env folder,
isolated from the global Python installation.
Question
How do you deactivate python virtual environment?
Installing Django
In this section, we are going to install Django using pip, Django works well with python 2.7 or higher. In the example of this course we will use python 3.6, and python 3.6 comes with pip preinstalled but you can learn more about pip installation here. To install django I am going to run the following command:
pip install django
Here is a screen-shot of my terminal:

As you can see here, Django has been installed successfully. To see which version of Django we are using, on my terminal I am going to run this command:
python
Here is a screen-shot of my terminal:

After running python command, I get into python shell which also show which version of python we are using. To check the version of Django, I am going to run the following commands:
import django
After running the above command, we going to run the following command:
django.VERSION
Here is screen-shot of my terminal:

The above output shows that django 2.1.2 has been successfully installed in our virtual environment. You can find official django installation guide here.
Creating Our First Project
Django provides a command that allow developers to easily create an initial project file structure. To create our project, we are going to run the following command:
django-admin startproject mysite
The above command will create a Django project called mysite.
Running Development Server
Django comes with a lightweight web server to run your code quickly without spending too much time configuring production server. On my terminal I am going to change into mysite directory by running this command:
cd mysite
In order to run the django development server, we are going to run the following command:
python manage.py runserver
Here is the output on my terminal:

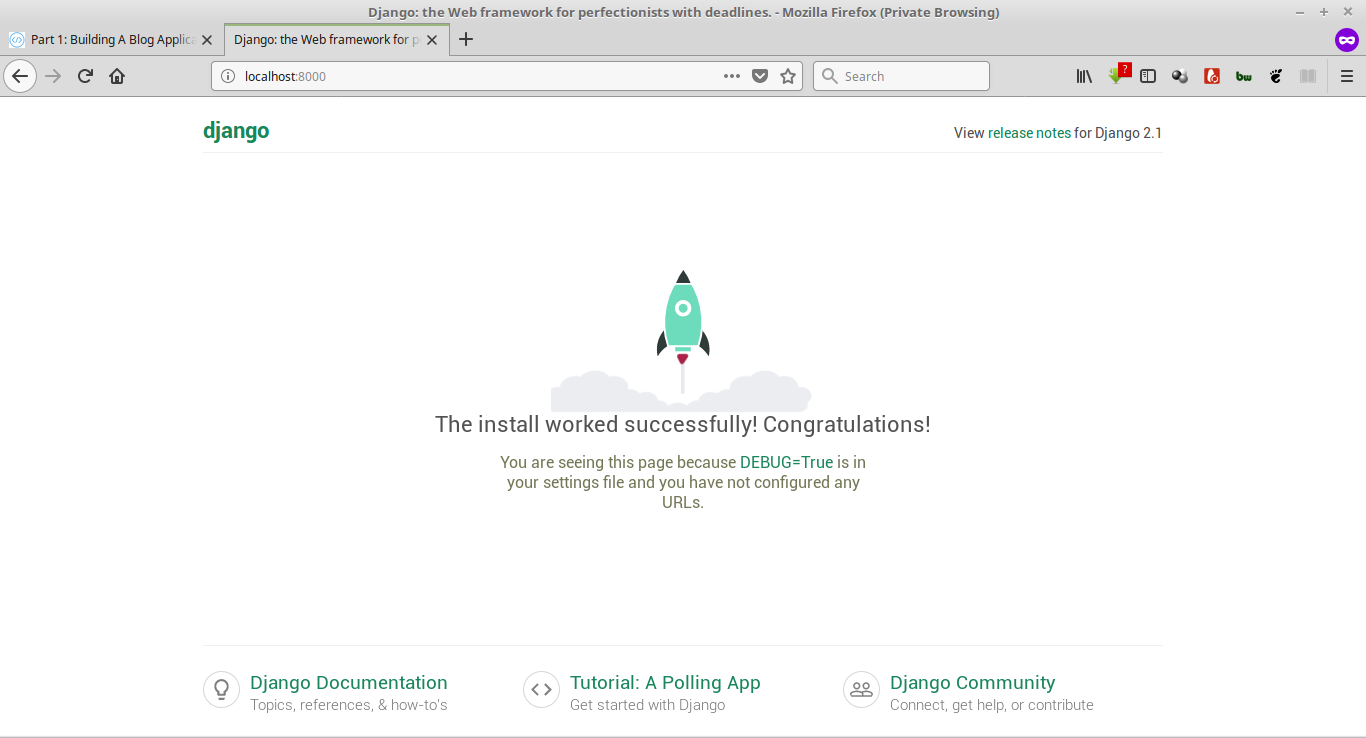
The output shows django development server is running on http://127.0.0.1:8000/ On your browser, navigate to http://127.0.0.1:8000/ and here is the output:

We have successfully run a Django powered page on our browser.
Goal Achieved In This Lesson
- We have learned how to create a virtual environment.
- We have learned how to install Django
- We have learned how to check the django version.
- We have learned how to create a django project.
- We have learned how to run the django development server.
With that we conclude our lesson, hope to see you in lesson two.


Facebook Comments